Homemade Fabric Dye from Acrylic Paint: A Comprehensive Guide
Creating homemade fabric dye from acrylic paint offers a cost-effective and customizable way to refresh old garments or add a unique touch to textile projects. While traditional fabric dyes are readily available, using acrylic paint provides an alternative for achieving specific colors and effects. This guide explores the process of making homemade fabric dye from acrylic paint, outlining the necessary materials, steps, and precautions to ensure successful and long-lasting results. Whether you’re a seasoned crafter or a beginner looking to experiment, understanding the nuances of this technique can unlock a world of creative possibilities.
Understanding the Basics of Fabric Dyeing with Acrylic Paint
Before diving into the process, it’s crucial to understand why acrylic paint can be used as a homemade fabric dye and what factors contribute to its effectiveness. Acrylic paint, composed of pigment suspended in an acrylic polymer emulsion, adheres well to fibers when properly applied and heat-set. However, unlike commercial fabric dyes, acrylic paint sits on the surface of the fabric rather than penetrating the fibers deeply. This means that the longevity and washability of the dyed fabric depend heavily on the preparation, application, and setting techniques.
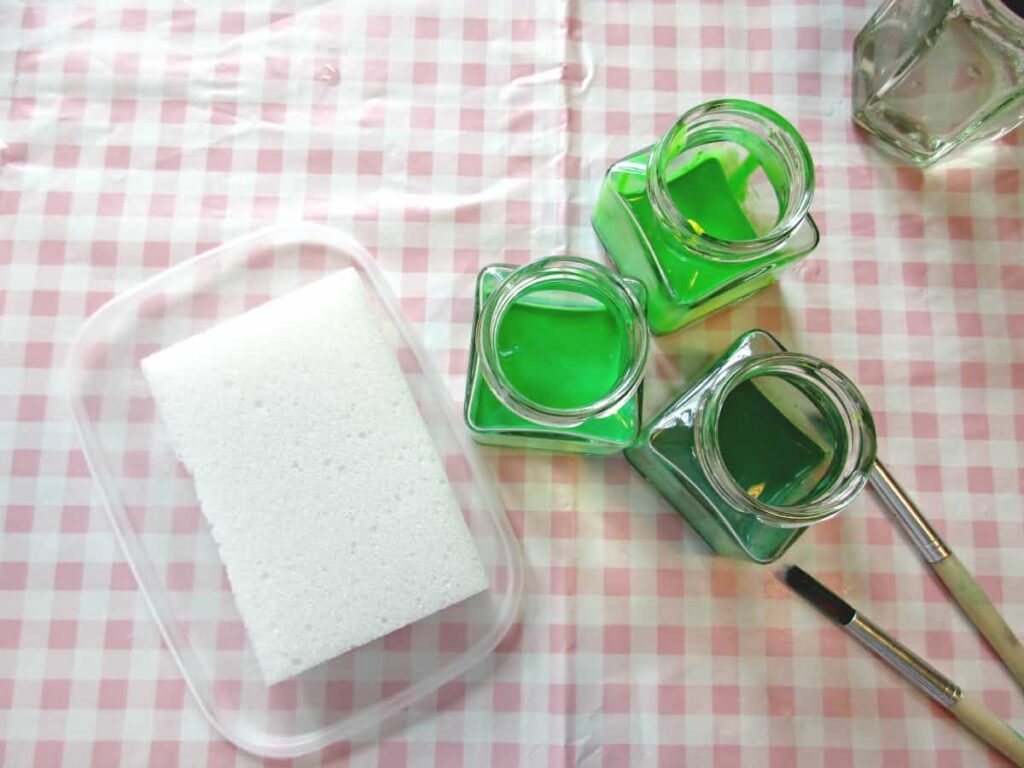
Materials You’ll Need
- Acrylic paint (various colors)
- Textile medium
- Water
- Mixing containers
- Paintbrushes or sponges
- Spray bottle
- Iron
- Protective gloves
- Drop cloth or plastic sheeting
- The fabric you wish to dye (natural fibers like cotton, linen, and silk work best)
Choosing the Right Fabric
The type of fabric you choose significantly impacts the outcome of your homemade fabric dye from acrylic paint project. Natural fibers like cotton, linen, and silk are generally more receptive to acrylic paint than synthetic fibers like polyester or rayon. This is because natural fibers have a more porous structure that allows the paint to adhere better. Consider the fabric’s weight and weave as well; lighter, looser weaves tend to absorb the paint more readily than heavier, tighter weaves.
Step-by-Step Guide to Making Homemade Fabric Dye from Acrylic Paint
Follow these steps carefully to achieve the best results when using homemade fabric dye from acrylic paint.
Preparing the Fabric
Start by washing the fabric thoroughly to remove any sizing, finishes, or dirt that might interfere with the dye’s absorption. Do not use fabric softener, as it can create a barrier between the fabric and the paint. Once washed, dry the fabric completely and iron it to remove any wrinkles.
Mixing the Dye
The key to creating a successful homemade fabric dye from acrylic paint lies in properly mixing the paint with a textile medium. Textile medium is a clear liquid that helps the acrylic paint adhere to the fabric, prevents it from cracking or peeling, and improves its washability. The recommended ratio is typically 1 part acrylic paint to 1 part textile medium, but you may need to adjust this ratio depending on the consistency of your paint and the desired color intensity. Add a small amount of water to thin the mixture if needed, ensuring it’s easily spreadable but not too runny. Always test a small, inconspicuous area of the fabric with your dye mixture before proceeding with the entire project.
Applying the Dye
There are several ways to apply homemade fabric dye from acrylic paint, depending on the look you want to achieve. For an even, all-over color, use a large paintbrush or sponge to apply the dye in smooth, consistent strokes. Work the dye into the fabric, ensuring it penetrates the fibers. For more textured effects, try using a spray bottle to create a mottled or ombre look. You can also use stencils, stamps, or freehand painting to create unique designs. Remember to work in a well-ventilated area and protect your work surface with a drop cloth or plastic sheeting.
Setting the Dye
Once you’ve applied the homemade fabric dye, it’s crucial to set the dye properly to make it permanent and washable. Allow the fabric to air dry completely, which may take several hours or even overnight. Once dry, heat-set the dye using an iron. Place a clean piece of cloth (such as a pillowcase or thin towel) between the dyed fabric and the iron to protect the paint from direct heat. Set the iron to a medium-high setting (appropriate for the fabric type) and iron the fabric for 3-5 minutes, moving the iron slowly and evenly over the entire surface. This process helps the acrylic paint bond more securely to the fabric fibers.
Tips and Tricks for Successful Fabric Dyeing
Here are some additional tips to help you achieve the best results with your homemade fabric dye from acrylic paint:
- Use High-Quality Acrylic Paint: Investing in artist-grade acrylic paints will result in richer, more vibrant colors that are less likely to fade over time.
- Mix Colors Carefully: Acrylic paints can be mixed to create a wide range of custom colors. Experiment with different combinations to achieve your desired shade.
- Apply Multiple Coats: For deeper, more saturated colors, apply multiple thin coats of dye rather than one thick coat. Allow each coat to dry completely before applying the next.
- Consider Dyeing Techniques: Explore different dyeing techniques, such as tie-dye, ombre, or stenciling, to add visual interest to your fabric.
- Pre-Treat Stains: If your fabric has any stains, pre-treat them before dyeing to prevent them from becoming more noticeable.
- Wash Carefully: When washing your dyed fabric for the first time, wash it separately in cold water with a mild detergent. Avoid using bleach or fabric softener.
Troubleshooting Common Issues
Even with careful preparation and application, you may encounter some common issues when using homemade fabric dye from acrylic paint. Here are some troubleshooting tips:
- Paint Cracking or Peeling: This is often caused by using too much acrylic paint and not enough textile medium. Ensure you’re using the correct ratio and that the paint is fully absorbed into the fabric.
- Color Fading: Color fading can occur if the dye is not properly set or if the fabric is washed in hot water. Always heat-set the dye thoroughly and wash the fabric in cold water.
- Uneven Color: Uneven color can be caused by applying the dye inconsistently. Use smooth, even strokes and ensure the dye is evenly distributed across the fabric.
- Stiff Fabric: Using too much acrylic paint can make the fabric stiff. Dilute the paint with more textile medium and water to create a more flexible dye.
Safety Precautions
When working with acrylic paint and textile medium, it’s important to take certain safety precautions:
- Ventilation: Work in a well-ventilated area to avoid inhaling fumes from the paint and medium.
- Skin Protection: Wear protective gloves to prevent skin irritation or staining.
- Eye Protection: Wear safety glasses to protect your eyes from splashes.
- Clean Up: Clean up any spills immediately with soap and water.
- Storage: Store acrylic paints and textile medium in a cool, dry place, away from children and pets.
Creative Project Ideas Using Homemade Fabric Dye
Once you’ve mastered the art of making homemade fabric dye from acrylic paint, the possibilities are endless. Here are a few creative project ideas to get you started:
- Custom T-Shirts: Create unique t-shirts with custom designs, logos, or slogans.
- Personalized Tote Bags: Dye plain tote bags with your favorite colors and patterns.
- Decorated Pillowcases: Add a pop of color to your bedroom with dyed pillowcases.
- Upcycled Clothing: Give new life to old clothing by dyeing it with vibrant colors.
- Handmade Quilts: Create one-of-a-kind quilts with dyed fabric squares.
- Unique Wall Art: Stretch dyed fabric over a canvas to create stunning wall art.
Conclusion
Creating homemade fabric dye from acrylic paint is a rewarding and versatile technique that allows you to customize your textiles with unique colors and designs. By understanding the basics of fabric dyeing, using the right materials, and following the steps outlined in this guide, you can achieve professional-looking results that will last. Remember to experiment with different techniques and colors to unleash your creativity and bring your textile projects to life. Whether you’re dyeing a t-shirt, tote bag, or quilt, homemade fabric dye offers a cost-effective and personalized way to express your style. So, gather your materials, get creative, and start dyeing!
[See also: Best Fabric Dyes for Natural Fibers]
[See also: Acrylic Paint on Clothing: A Complete Guide]
[See also: How to Tie Dye with Food Coloring]
