Broken Acrylic Nail Bleeding: First Aid and Prevention Guide
A broken acrylic nail bleeding is a common but often painful and alarming experience for many who sport these enhancements. Acrylic nails, while beautiful and durable, can sometimes break or lift, leading to injuries that cause bleeding. Understanding how to handle such situations promptly and effectively is crucial to prevent infection and promote healing. This comprehensive guide provides step-by-step instructions on first aid for a broken acrylic nail bleeding, as well as tips on prevention and aftercare.
Understanding the Risks of a Broken Acrylic Nail
Acrylic nails are artificial enhancements placed over natural nails to add length, strength, and aesthetic appeal. However, the bond between the acrylic and the natural nail isn’t always perfect. Trauma to the nail, such as hitting it against a hard surface, can cause the acrylic to lift or break. When this happens, it can pull on the natural nail, causing it to separate from the nail bed. This separation can lead to bleeding, pain, and a risk of infection.
Ignoring a broken acrylic nail bleeding can lead to more serious issues. Bacteria and fungi can enter the wound, causing infections that require medical treatment. Therefore, immediate and proper care is essential.
First Aid for a Broken Acrylic Nail Bleeding
If you experience a broken acrylic nail bleeding, follow these steps to minimize the risk of infection and promote healing:
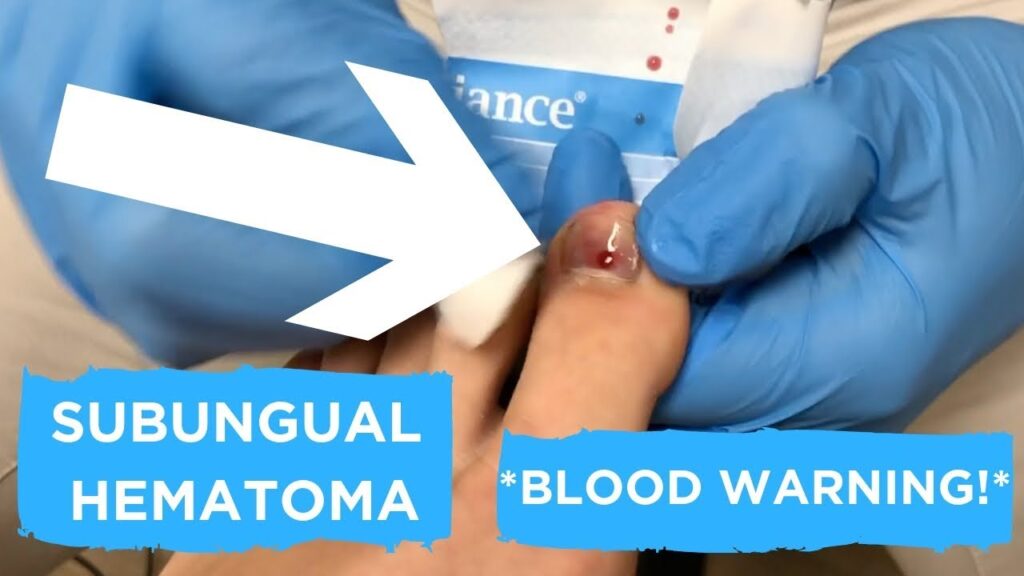
Step 1: Stop the Bleeding
The first and most crucial step is to stop the bleeding. Apply direct pressure to the wound using a clean, sterile gauze or cloth. Hold the pressure firmly for at least 10-15 minutes. Avoid peeking to check if the bleeding has stopped, as this can disrupt the clotting process. If the bleeding is severe or doesn’t stop after 15 minutes, seek medical attention immediately.
Step 2: Clean the Wound
Once the bleeding has stopped, gently clean the wound with mild soap and water. Avoid using harsh chemicals or alcohol-based cleansers, as these can irritate the skin and delay healing. Rinse thoroughly and pat dry with a clean towel.
Step 3: Remove the Broken Acrylic (If Possible)
If the broken acrylic is partially attached and causing further irritation, carefully remove it. Soak the affected nail in warm, soapy water for a few minutes to soften the acrylic. Use a clean nail clipper to trim away any loose pieces. Be extremely gentle to avoid pulling or tearing the natural nail further. If the acrylic is firmly attached or removal causes significant pain, it’s best to leave it to a professional nail technician or medical professional.
Step 4: Apply Antibiotic Ointment
After cleaning the wound, apply a thin layer of antibiotic ointment, such as Neosporin or Bacitracin, to help prevent infection. This creates a barrier against bacteria and promotes healing. [See also: Nail Fungus Treatment Options]
Step 5: Bandage the Nail
Cover the injured nail with a sterile bandage or adhesive dressing. This protects the wound from dirt and debris while allowing it to heal. Change the bandage daily, or more frequently if it becomes wet or soiled.
Step 6: Monitor for Signs of Infection
Keep a close eye on the wound for any signs of infection, such as increased redness, swelling, pain, pus, or fever. If you notice any of these symptoms, seek medical attention promptly. Infections can spread quickly and lead to more serious complications if left untreated.
Preventing Broken Acrylic Nails and Bleeding
Prevention is always better than cure. Here are some tips to minimize the risk of a broken acrylic nail bleeding:
- Choose a Reputable Nail Technician: Ensure that your nail technician is licensed and experienced. Proper application and maintenance of acrylic nails are crucial to preventing breakage and lifting.
- Maintain Regular Appointments: Schedule regular fill-in appointments to maintain the integrity of your acrylic nails. As your natural nails grow, the gap between the acrylic and the cuticle can become a weak point, increasing the risk of breakage.
- Avoid Excessive Length: Long acrylic nails are more prone to breakage. Opt for a shorter, more manageable length to reduce the risk of injury.
- Protect Your Nails: Wear gloves when doing household chores or engaging in activities that could damage your nails. Avoid using your nails as tools to open packages or scrape surfaces.
- Be Gentle: Treat your acrylic nails with care. Avoid hitting them against hard surfaces or picking at the edges.
- Keep Your Nails Hydrated: Regularly apply cuticle oil to keep your natural nails and the surrounding skin hydrated. This helps prevent dryness and brittleness, which can increase the risk of breakage.
Aftercare for a Broken Acrylic Nail
Even after the initial wound has healed, proper aftercare is essential to prevent further complications and promote healthy nail growth. Here are some tips for aftercare following a broken acrylic nail bleeding:
Keep the Area Clean and Dry
Continue to keep the affected area clean and dry. Gently wash the nail with mild soap and water daily, and pat it dry thoroughly. Avoid prolonged exposure to water, as this can soften the natural nail and increase the risk of infection.
Apply Cuticle Oil Regularly
Regularly apply cuticle oil to keep the natural nail and surrounding skin hydrated. This helps promote healthy nail growth and prevent dryness and brittleness. [See also: Best Cuticle Oils for Nail Health]
Avoid Reapplying Acrylics Immediately
Give your natural nail time to heal before reapplying acrylics. Applying acrylics too soon can further damage the nail and increase the risk of infection. It’s generally recommended to wait at least a few weeks, or until the nail has fully recovered.
Consider Strengthening Treatments
Consider using nail strengthening treatments to help repair and protect your natural nails. These treatments can help improve the strength and resilience of your nails, making them less prone to breakage. Look for products that contain ingredients like keratin, biotin, or calcium.
Maintain a Healthy Diet
A healthy diet rich in vitamins and minerals is essential for healthy nail growth. Ensure you’re getting enough protein, iron, zinc, and vitamins A, C, and E in your diet. These nutrients play a crucial role in maintaining the strength and integrity of your nails.
When to Seek Medical Attention
While most broken acrylic nail bleeding incidents can be managed at home with proper first aid and aftercare, there are certain situations where medical attention is necessary. Seek medical care if:
- The bleeding is severe and doesn’t stop after 15 minutes of direct pressure.
- You experience signs of infection, such as increased redness, swelling, pain, pus, or fever.
- The natural nail is severely damaged or detached from the nail bed.
- You have an underlying medical condition, such as diabetes or a compromised immune system, that increases your risk of infection.
Conclusion
Dealing with a broken acrylic nail bleeding can be a stressful experience, but with prompt and proper care, you can minimize the risk of infection and promote healing. By following the first aid steps outlined in this guide, practicing preventative measures, and maintaining proper aftercare, you can keep your nails healthy and beautiful. Remember, if you have any concerns or experience any signs of infection, don’t hesitate to seek medical attention. Taking care of your nails is an important part of overall self-care, and being proactive can help you avoid potential complications.
Understanding the nuances of nail care, especially when dealing with enhancements like acrylics, is crucial. A broken acrylic nail bleeding situation, while common, shouldn’t be taken lightly. Always prioritize cleanliness, prompt action, and professional advice when needed to ensure your nails remain healthy and your hands, beautiful.
The key takeaway is that a broken acrylic nail bleeding is manageable with the right knowledge and approach. Don’t panic; follow the guidelines, and seek professional help when necessary. Your nail health is worth the effort!
