Unlocking the Secrets of Kiss Acrylic Liquid: A Comprehensive Guide
Achieving salon-quality acrylic nails at home is now more accessible than ever, thanks to products like Kiss acrylic liquid. This comprehensive guide delves into the intricacies of using Kiss acrylic liquid, covering everything from its composition and benefits to application techniques and troubleshooting tips. Whether you’re a seasoned nail technician or a beginner venturing into the world of acrylics, understanding the nuances of Kiss acrylic liquid is crucial for achieving flawless, long-lasting results.
What is Kiss Acrylic Liquid?
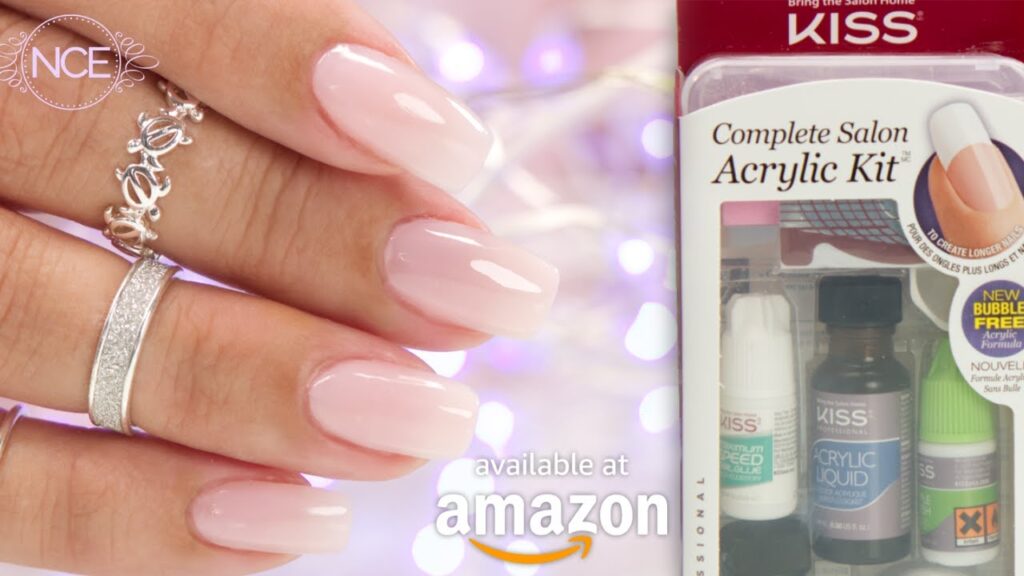
Kiss acrylic liquid is a monomer solution designed to be mixed with acrylic powder to create a durable and customizable nail enhancement. It’s a key component in the acrylic nail system, providing the necessary chemical reaction to harden and solidify the acrylic mixture. Unlike some professional-grade monomers, Kiss acrylic liquid is formulated for ease of use, making it a popular choice for both beginners and experienced users seeking a reliable at-home solution.
Composition and Key Ingredients
Understanding the ingredients in Kiss acrylic liquid is important for understanding its performance. While the exact formulation may vary, key components typically include:
- Ethyl Methacrylate (EMA): The primary monomer responsible for the acrylic’s hardening process. EMA is generally considered safer and less irritating than methyl methacrylate (MMA), which is often found in cheaper, lower-quality acrylic liquids.
- Inhibitors: These chemicals prevent premature polymerization of the liquid, ensuring a stable shelf life and preventing the liquid from hardening in the bottle.
- UV Stabilizers: These protect the acrylic nails from yellowing or discoloration due to exposure to sunlight or UV light.
- Plasticizers: These add flexibility and prevent the acrylic nails from becoming brittle and prone to cracking.
Benefits of Using Kiss Acrylic Liquid
Kiss acrylic liquid offers several advantages, making it a compelling choice for at-home acrylic nail applications:
- Ease of Use: Formulated for beginners, it often boasts a slower drying time, allowing for more control during application.
- Accessibility: Readily available at most drugstores and online retailers, making it easy to purchase.
- Affordability: Typically more budget-friendly than professional-grade acrylic liquids.
- Durable Results: When used correctly, Kiss acrylic liquid can provide strong and long-lasting acrylic nails.
How to Apply Kiss Acrylic Liquid: A Step-by-Step Guide
Achieving professional-looking acrylic nails with Kiss acrylic liquid requires careful preparation and application. Follow these steps for optimal results:
- Prepare Your Nails: Begin by sanitizing your hands and nails. Push back your cuticles and gently buff the surface of your natural nails to remove shine. This creates a better surface for the acrylic to adhere to.
- Apply Nail Forms or Tips: If you desire added length, apply nail forms or tips using nail glue. Ensure they are securely attached and properly aligned.
- Prime Your Nails: Apply a nail primer to your natural nails. This dehydrates the nail surface and promotes better adhesion of the acrylic.
- Prepare Your Acrylic Mixture: Pour a small amount of Kiss acrylic liquid into a dappen dish. Dip your acrylic brush into the liquid, then gently tap it into your chosen acrylic powder. The goal is to create a small, bead-like mixture on the tip of the brush.
- Apply the Acrylic: Apply the acrylic bead to your nail, starting near the cuticle area and gently working your way towards the free edge. Use the brush to shape and smooth the acrylic as you go. Repeat this process, building up the acrylic in thin layers until you achieve the desired thickness and shape.
- Let the Acrylic Harden: Allow the acrylic to fully harden. This typically takes a few minutes. You can test the hardness by gently tapping the acrylic with your brush. If it feels solid, it’s ready to be filed.
- File and Shape: Use a nail file to shape and refine the acrylic nails. Pay attention to the sidewalls, free edge, and surface of the nails. Achieve your desired shape (e.g., square, oval, almond).
- Buff and Smooth: Use a nail buffer to smooth the surface of the acrylic nails and remove any imperfections.
- Apply Top Coat: Apply a top coat to seal the acrylic and add shine. Cure the top coat under a UV or LED lamp, if required.
- Hydrate Your Cuticles: Finish by applying cuticle oil to hydrate your cuticles and surrounding skin.
Troubleshooting Common Issues with Kiss Acrylic Liquid
Even with careful application, you may encounter some common issues when using Kiss acrylic liquid. Here’s how to troubleshoot them:
- Acrylic is Too Runny: This usually indicates that you’re using too much liquid or not enough powder. Adjust the ratio of liquid to powder until you achieve a thicker consistency.
- Acrylic is Drying Too Quickly: This can be caused by warm temperatures or using a fast-drying liquid. Work in a cooler environment and consider using a slightly slower-drying acrylic liquid.
- Acrylic is Lifting: Poor nail preparation is often the culprit. Ensure you’re properly prepping your nails by buffing, dehydrating, and priming them. Also, avoid getting acrylic on the cuticle area, as this can cause lifting.
- Acrylic is Yellowing: This can be caused by exposure to sunlight or UV light. Use a UV-protective top coat to prevent yellowing.
- Bubbles in the Acrylic: This can be caused by air being trapped in the acrylic mixture. Use a slow, deliberate dipping motion when mixing the liquid and powder. Also, avoid overworking the acrylic.
Comparing Kiss Acrylic Liquid to Professional-Grade Monomers
While Kiss acrylic liquid is a great option for at-home use, it’s important to understand the differences between it and professional-grade monomers. Professional monomers often contain different formulations, potentially offering stronger adhesion, faster drying times, and greater durability. However, they may also be more difficult to work with and require more experience. Kiss acrylic liquid is designed for ease of use, making it a suitable choice for beginners and those looking for a convenient at-home solution. The key is to understand your skill level and application needs.
Safety Precautions When Using Kiss Acrylic Liquid
Like all chemical products, it’s important to take safety precautions when using Kiss acrylic liquid:
- Work in a Well-Ventilated Area: Acrylic liquid can release strong fumes, so ensure you’re working in a well-ventilated area to avoid inhaling excessive fumes.
- Avoid Skin Contact: Acrylic liquid can irritate the skin. Wear gloves to protect your hands.
- Avoid Eye Contact: If acrylic liquid gets in your eyes, rinse immediately with plenty of water and seek medical attention.
- Keep Out of Reach of Children: Store Kiss acrylic liquid in a safe place, out of reach of children and pets.
- Follow Manufacturer’s Instructions: Always read and follow the manufacturer’s instructions for proper use and disposal.
Alternatives to Kiss Acrylic Liquid
If Kiss acrylic liquid doesn’t meet your specific needs or preferences, several alternatives are available. These include other at-home acrylic liquid brands and professional-grade monomers. Research and compare different options to find the best fit for your skill level and desired results. Consider factors such as drying time, odor, and adhesion strength when making your decision. [See also: Best Acrylic Nail Kits for Beginners]
Proper Storage of Kiss Acrylic Liquid
Proper storage is essential to maintain the quality and effectiveness of Kiss acrylic liquid. Store the liquid in a cool, dark place, away from direct sunlight and heat. Ensure the bottle is tightly sealed to prevent evaporation and contamination. Avoid storing the liquid near flammable materials. Properly stored, Kiss acrylic liquid can last for several months.
Conclusion: Mastering Acrylic Nails with Kiss Acrylic Liquid
Kiss acrylic liquid provides a convenient and accessible way to achieve beautiful acrylic nails at home. By understanding its composition, benefits, and application techniques, you can unlock its full potential and create salon-worthy results. Remember to prioritize safety, practice proper nail preparation, and troubleshoot any issues that may arise. With a little patience and practice, you can master the art of acrylic nails and enjoy long-lasting, stunning manicures. Whether you’re a beginner or a seasoned DIY enthusiast, Kiss acrylic liquid can be a valuable tool in your nail care arsenal. Always ensure you are following safety guidelines and using the product as directed for the best possible outcome. Consider factors such as your skill level and desired outcome when choosing between Kiss acrylic liquid and other options. [See also: DIY Nail Art Techniques] Happy nail crafting!
